Android eSIM setup is slightly more fragmented than iPhone because every manufacturer does the menu slightly differently. The underlying process is identical - scan QR code, download profile, activate - but getting to the right screen takes different taps depending on your phone.
Samsung Galaxy
Settings → Connections → SIM Manager → Add eSIM. Tap "Scan QR code from service provider" and you're off. Samsung devices from the S20 onwards handle this well. The S23 and S24 series can run two active lines simultaneously - a physical SIM and an eSIM at the same time, which is proper dual-SIM functionality.
After installation, go back to SIM Manager and set your preferred SIM for mobile data. Tap the eSIM, then enable "Mobile data." If you're keeping a physical SIM for calls, you can set each line for a specific purpose.
Google Pixel
Settings → Network & Internet → SIMs → Add SIM. Pixel phones are the most straightforward Android implementation - Google designed the eSIM flow themselves so it's clean. Pixel 3 and later all support it.
One quirk: on some Pixel models, the option shows as "Download a SIM instead?" when you first open the SIM settings. Tap that. Then scan your QR code.
Other Android phones
Most modern flagships follow a similar path. OnePlus: Settings → Wi-Fi & Network → SIM & Network Management. Motorola: Settings → Network & internet → Mobile network → Advanced → Carrier. Xiaomi: Settings → SIM cards & mobile networks → Add eSIM.
If you can't find it, search "eSIM" in your phone's Settings search bar. Almost always brings it up immediately.
Check eSIM compatibility first
Not all Android phones support eSIM, even flagships. And carrier-locked devices sometimes have eSIM disabled. The quickest check: dial *#06# on your Android. If you see an EID number in the results (a long numeric string separate from your IMEI), your phone has eSIM capability. No EID means no eSIM.
See the full eSIM compatible phones list if you want to check before buying.
Manual installation on Android
If you can't scan a QR code - maybe you've only got one phone and the QR code is on the same screen - there's a manual option. On Samsung, go to SIM Manager → Add eSIM → scroll down and tap "Enter activation code." On Pixel, look for "Need help? Try entering info manually" at the bottom of the scan screen.
You'll need the SM-DP+ address and activation code from your eSIM provider. These come in the same email as the QR code. Copy the full string, paste it in, and hit confirm. The download process is identical after that.
Providers like getesimonline.com include both the QR code and the manual codes in their confirmation email, so you're covered either way.
Common issues
Profile won't download: You need mobile data or Wi-Fi active. Can't activate eSIM on Wi-Fi alone on some older Android versions - try switching to mobile data if you have a physical SIM active.
"Not supported" error: Usually means your device is carrier-locked to a network that hasn't enabled eSIM. Contact your current carrier to get the device unlocked first.
Two eSIM profiles conflict: Android devices typically only activate one eSIM profile at a time (Samsung dual-SIM devices being the exception). If you've installed a new profile and the old one isn't working, check which profile is set as active in SIM Manager.
Android-specific data settings to check
After installing your eSIM, there are a couple of settings that trip people up on Android. First, go to Settings → Connections → Mobile Networks and make sure "Data roaming" is toggled on for your eSIM plan. Without this, you'll have signal but no data connection abroad.
Second, check your APN (Access Point Name) settings. Most eSIM profiles configure this automatically, but occasionally an Android phone won't pick up the right APN. If your eSIM shows signal bars but web pages won't load, go to Settings → Connections → Mobile Networks → Access Point Names and check that an APN is selected. If nothing's there, contact your eSIM provider for the correct APN details.
Third, disable "Smart network switch" or "Adaptive Wi-Fi" if your Samsung phone has it. This feature automatically switches between Wi-Fi and mobile data when it detects a weak Wi-Fi signal, which can cause unexpected data usage on the wrong SIM.
Preparing your Android for travel eSIM
Before you install a travel eSIM, check that your phone is unlocked. Carrier-locked Android phones often have eSIM functionality disabled even if the hardware supports it. To check: go to Settings → About Phone and look for "Network lock" or "SIM lock status." If it says locked, contact your carrier to unlock it before your trip - this can take a few days, so don't leave it until the last minute.
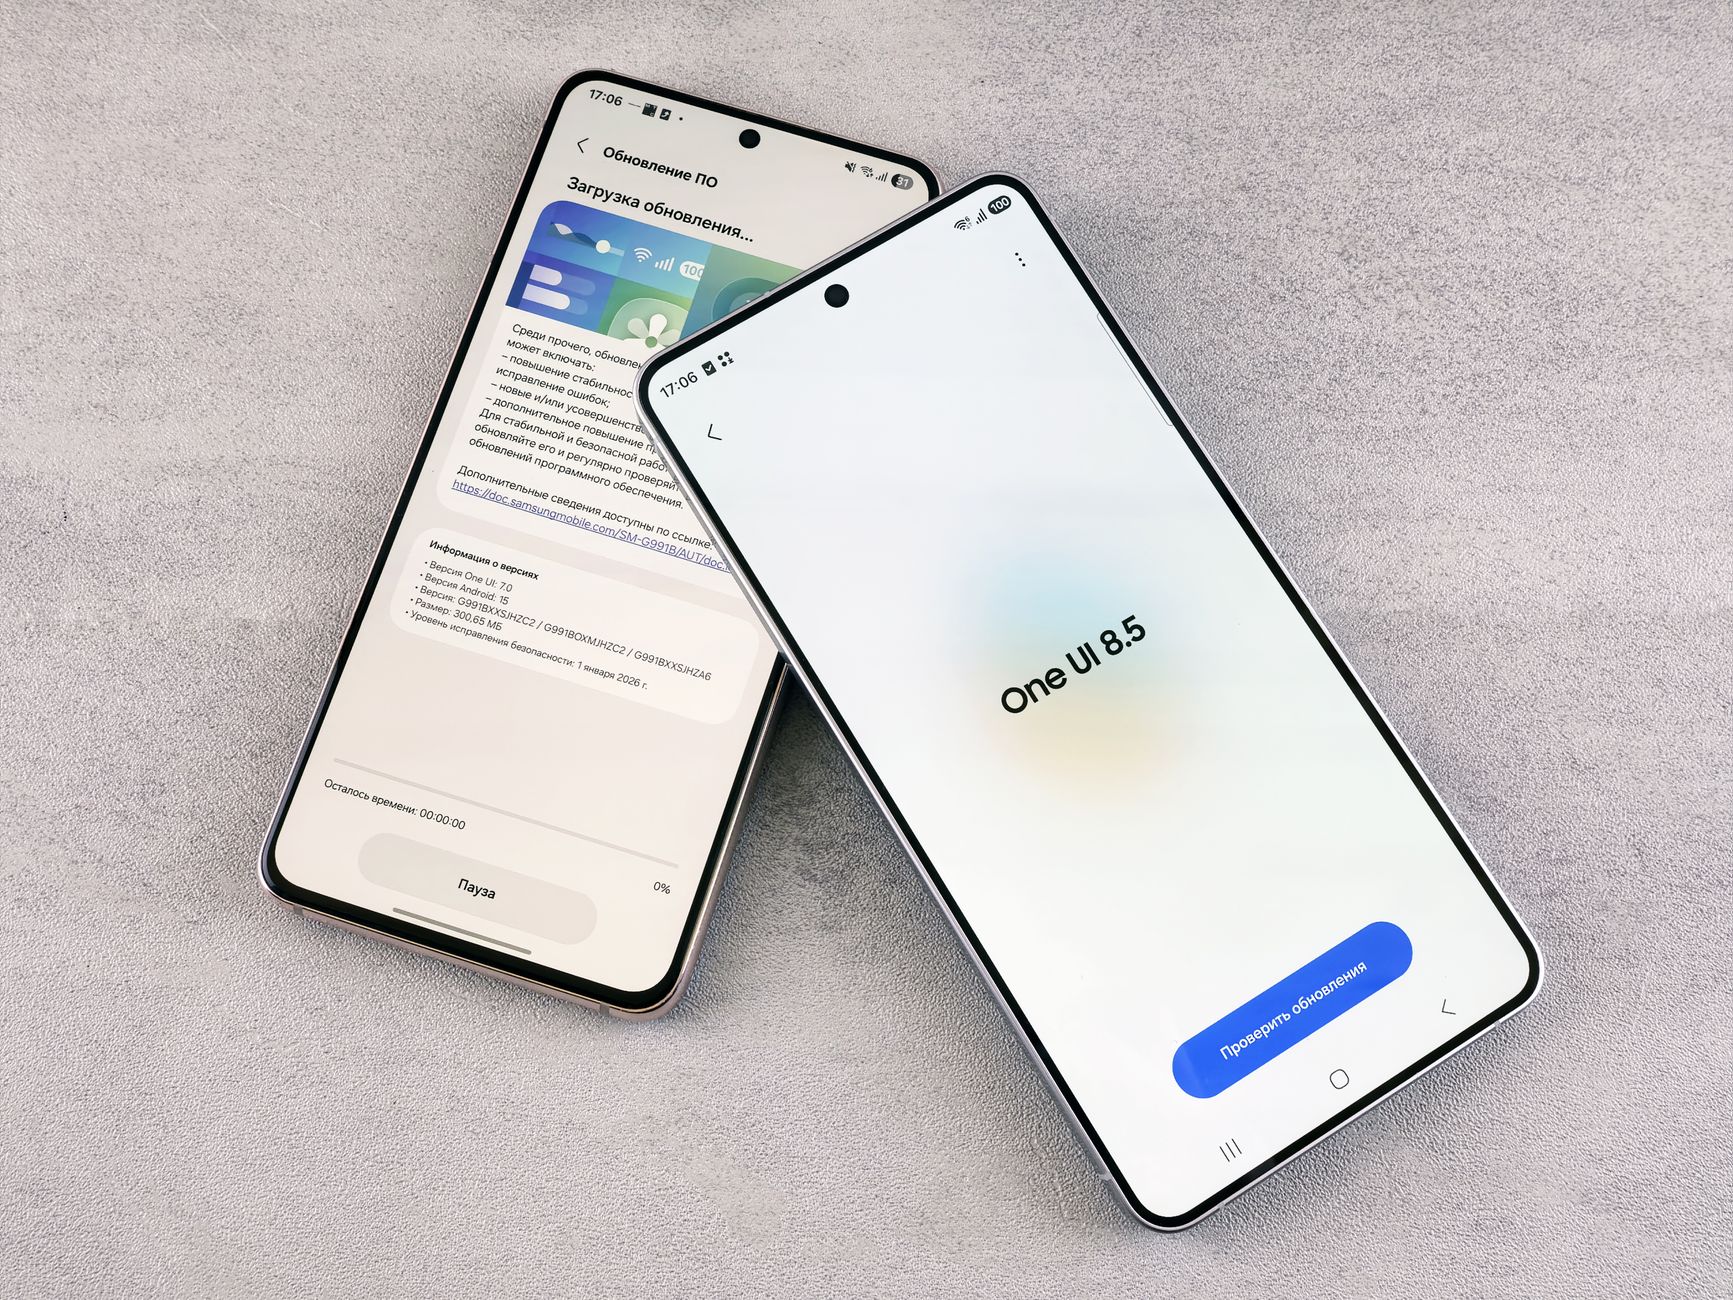
Also make sure your phone's software is up to date. Some Android manufacturers have improved their eSIM support in recent updates. Samsung, in particular, fixed several eSIM bugs in their One UI 6 update that caused profile downloads to fail on older software versions.
One last thing: write down your eSIM provider's support email or chat link before you travel. If something goes wrong with activation while you're abroad and don't have data, you can connect to airport or hotel Wi-Fi and reach out for help. Most providers like getesimonline.com have live chat support that can walk you through troubleshooting in minutes.
Dual SIM with eSIM on Android
The Samsung Galaxy S series is the gold standard here. You can run a physical nano-SIM (your home number) and an eSIM (local travel data) simultaneously. No swapping, no choosing. Calls come through on your regular number, data routes through the cheaper local plan.
That setup alone can save you a lot on a two-week trip compared to international roaming rates. The dual SIM guide covers the configuration in more detail.
Get an eSIM for Your Next Trip
Android set up? Browse eSIM plans for Thailand, Turkey, Indonesia, South Korea, and 200+ more countries.
Ready to get connected?
Browse affordable eSIM data plans for 200+ countries. Instant activation, no roaming fees.
Browse eSIM Plans